The Jewellery Seller's Photo-Prep Checklist for AI
By the ORA Lab team · Updated 11 August 2026 · 8 min read
Key takeaways
- AI generation is downstream of its input: a sharp, clean, evenly-lit source photo is the single highest-leverage thing a seller controls.
- You don't need professional photography as input, a phone near a window and ten minutes of care beat an expensive shot taken carelessly.
- The five input killers: blur, harsh reflections, colour casts, busy backgrounds, and fingerprints, each one propagates into every generation made from that photo.
- One good source photo per SKU (plus one angle shot for 3D designs) covers catalog, campaign, on-model, and video generation from then on.
- Shoot once, describe once: pairing each photo with basic product facts, metal, stones, dimensions, lets AI systems anchor fidelity instead of guessing.
There's a persistent misunderstanding about AI product photography: that because the output is generated, the input doesn't matter. Sellers photograph a ring under a yellow ceiling bulb, half in shadow, on a patterned tablecloth, and then wonder why every generation drifts warm, invents edges, or loses the stone detail. The model didn't fail. It faithfully worked with what it was given.
The encouraging flip side: the input bar is genuinely low. You are not producing a finished photograph, you're producing an accurate record of the piece, and a phone camera made after 2020 is more than capable of that. This checklist is everything a jewellery seller needs to prepare product photos that generate beautifully, written for people shipping real orders between photoshoots, not for photographers.
Why input quality compounds
A studio photograph is used once. A source photo for AI is used forever: every campaign scene, every on-model render, every marketplace crop, every video generated for that SKU inherits from it. A flaw in the source isn't one bad image, it's a defect stamped into the entire visual future of that product. That's why ten extra minutes at capture time is the best-leveraged time in the whole workflow, and why our fidelity guide keeps insisting the product photo is a record, not a glamour shot.
Equipment: what you need (and don't)
- A phone with a decent camera, any recent mid-range model. You do not need a DSLR, a macro lens, or a lightbox, though a cheap lightbox helps consistency if you shoot often.
- A large window with indirect light, or a shaded spot outdoors. This is your softbox.
- A plain background: white or light-grey card, a sheet of matte paper, even a clean wall. Matte, not glossy.
- Something to steady the phone, a stack of books works; a ₹500 tripod works better.
- A microfibre cloth. This one is not optional.
The capture checklist
- 1.Clean the piece first. Polished metal records fingerprints with astonishing loyalty, and AI preserves them just as loyally. Thirty seconds with the microfibre cloth, handle by the edges after.
- 2.Kill the overhead light, use the window. Household bulbs cast yellow-orange light that shifts metal colour, the drift that makes rose gold generate as yellow later. Indirect daylight is neutral and soft.
- 3.Avoid direct sun and visible reflections. Hard light blows out highlights, and a blown highlight is data the model can never recover. If you can see the window's reflection as a white patch on the metal, angle the piece until you can't.
- 4.Fill the frame, then step back slightly. The piece should occupy most of the image with a little breathing room, big enough that stones resolve individually, not so tight that edges get clipped.
- 5.Focus, then check at full zoom. Tap to focus on the piece, shoot, then pinch-zoom the result: every stone edge should be crisp. A photo that looks fine as a thumbnail and soft at zoom is soft, and generations will inherit the softness.
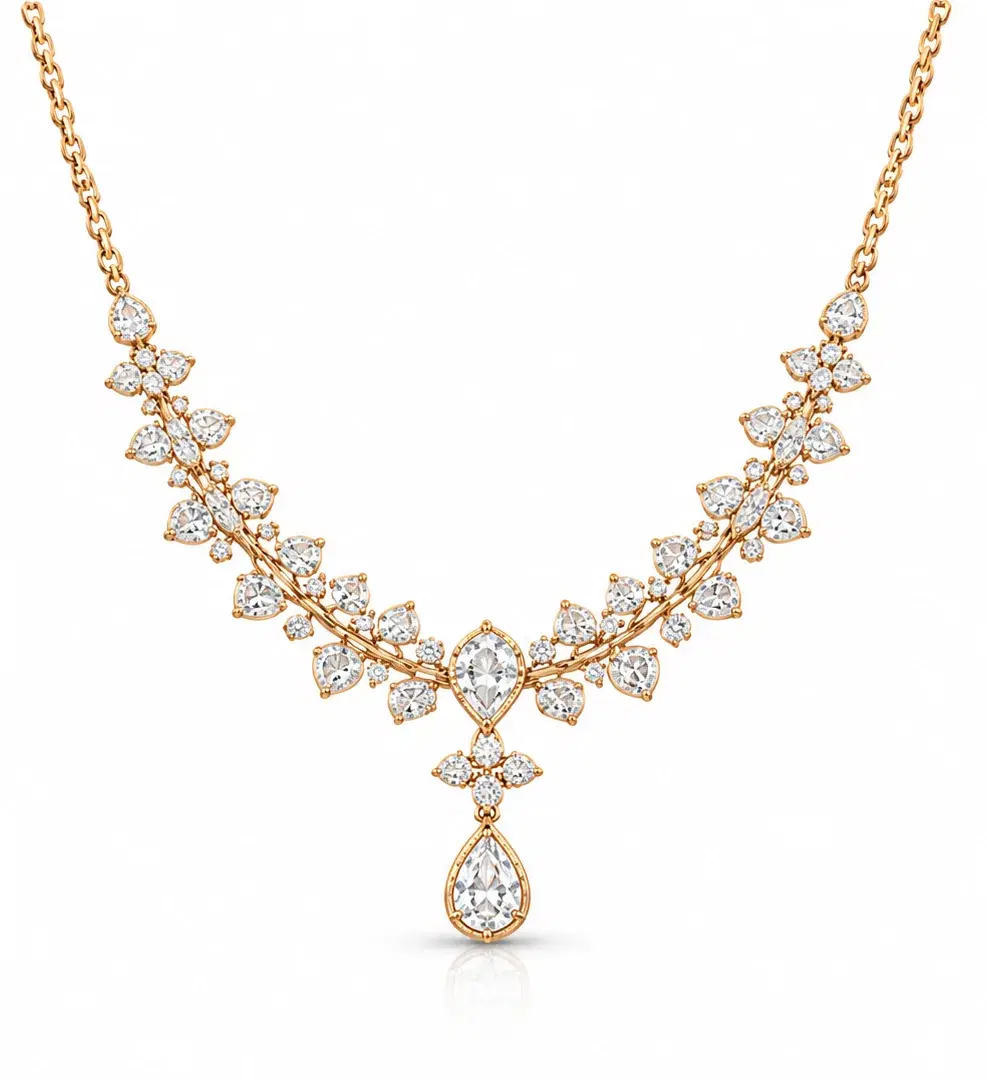
- 6.Shoot the catalog orientation square-on. Necklaces laid naturally with the pendant centred; rings three-quarter or straight-on; earrings as the pair, hanging if they're drops.
- 7.Add one angle shot for three-dimensional designs. Anything with height, cocktail rings, structured bangles, layered settings, deserves a second photo at roughly 45°, so the geometry isn't guessed.
- 8.Keep the background boring. Velvet trays, wood grain, and props photograph nicely and generate terribly, the model has to separate product from scenery, and every busy edge is a chance to lose detail. Save the styling for the generated scene; that's the whole point.
- 9.Turn off filters and 'AI enhance' on the phone. Beauty modes smooth exactly the micro-detail, engraving, texture, stone facets, that fidelity depends on. Shoot flat and honest.
- 10.Name and note as you go. 'ORA-NK-1024, 18k rose gold, 0.8ct pavé, 45cm chain' attached to the photo means a fidelity-anchored system like ours can lock materials and scale as constraints instead of inferring them from pixels.
The five input killers
If a generation looks wrong, the cause is nearly always one of these five, in this order of frequency: blur (soft focus or camera shake, irrecoverable), harsh reflections (blown-out patches that erase surface information), colour casts (warm bulbs or coloured walls tinting the metal), busy backgrounds (detail loss at every product edge), and fingerprints or dust (preserved and multiplied). Every one is preventable at capture and none is fixable afterwards. Ten minutes of care versus a permanently compromised SKU, that's the trade.
Special cases jewellers actually hit
- Very reflective pieces (mirror-finish bands, polished kundan): shoot inside a diffusion 'tent', even a white bedsheet across the window softens reflections dramatically.
- Dark stones (onyx, sapphire, deep garnet): slightly increase exposure so internal detail registers; a black lump generates as a black lump.
- Sets (necklace + earrings + ring): photograph each piece separately as well as together, you'll want individual imagery per SKU, and together-shots don't decompose cleanly.
- Meenakari and reverse work: photograph both faces. If the reverse matters to the buyer, it must exist in the record.
- Chains and flexible pieces: lay them in a natural drape rather than a perfect circle, the model learns the piece's real fall, which makes on-model generation more truthful.
What happens to your photo next
From one good source photo, generation covers the rest of the funnel: white-background pack shots for marketplaces, styled campaign scenes, on-model imagery, seasonal variants, and video. The economics of that leverage are covered in our cost comparison, but the short version is that the capture checklist above replaces most of what a studio day used to do. If you want to see the leverage on your own inventory, and bring photos straight off your phone. If they pass this checklist, they're enough.
Frequently asked questions
- What photos do I need for AI jewellery photography?
- One sharp, evenly lit photo per piece against a plain background, shot square-on in its natural catalog orientation, plus a second 45° angle shot for three-dimensional designs. A recent phone camera in indirect window light is fully sufficient; professional photography is not required as input.
- Can I use my existing product photos with AI tools?
- Usually, yes, if they're sharp, uncluttered, and colour-neutral. Run them through the five-killer check: blur, blown reflections, colour casts, busy backgrounds, and visible fingerprints. Photos failing any of those are worth reshooting; the ten-minute reshoot pays back across every future generation.
- Why do my AI generations look blurry or lose stone detail?
- Almost always because the source photo was soft at full zoom or the stones were too small in frame to resolve individually. Generation cannot recover detail that was never captured, reshoot closer, steadier, and check sharpness by pinch-zooming before accepting the shot.
- Should I edit or filter my photos before uploading them?
- No. Skip beauty filters, auto-enhance, and heavy retouching, they smooth away the micro-detail (facets, engraving, texture) that fidelity-preserving systems anchor to. Basic exposure correction is fine; the goal is an honest record, not a pretty one.
- Do I need a lightbox for jewellery photos?
- No, indirect window light with a white sheet as a diffuser produces excellent input. A budget lightbox helps if you shoot many SKUs regularly, mainly by making results consistent, but it's a convenience rather than a requirement.